
3d printing large objects
3d printing large objects 3D printing large objects is a revolutionary technology that allows for the fabrication of parts and products of any size. It offers an efficient, cost-effective way to rapidly produce complex designs with precision and accuracy.
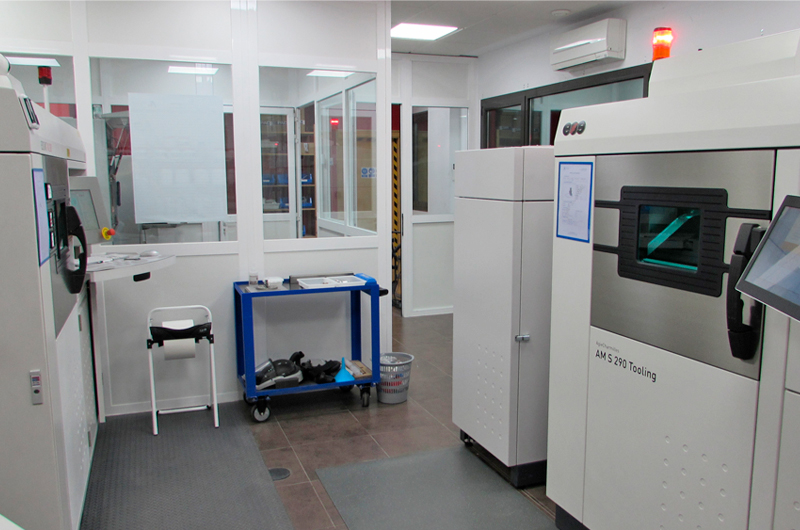
3d printing large objects.
Printing large objects using 3D printing technology presents specific challenges and considerations, but it is certainly possible with the right equipment and techniques. Here are key factors to keep in mind when 3D printing large objects:
- Build Volume:
- Choose a 3D printer with a sufficiently large build volume to accommodate the size of the object you want to print. Printers with larger build volumes are specifically designed for producing larger objects.
- Printer Type:
- Select the appropriate type of 3D printer for your project. Fused Deposition Modeling (FDM) and Stereolithography (SLA) printers are common choices. Large-scale FDM printers are often used for producing larger objects due to their build volume, while SLA printers might be suitable for detailed prints with high resolution.
- Material Selection:
- Consider the type of material you will use for the print. Some materials may have limitations when it comes to printing large objects, such as issues with warping or poor layer adhesion. High-temperature materials, such as ABS or PETG, are often used for larger prints due to their improved stability.
- Layer Height and Printing Speed:
- Adjust the layer height and printing speed based on the size of the object. Larger layers and slower printing speeds can help ensure better adhesion between layers and reduce the risk of print failures.
- Print Bed and Adhesion:
- Ensure that the print bed is properly leveled, and use appropriate adhesion techniques to prevent warping or detachment of the object during printing. This becomes crucial as the size of the printed object increases.
- Support Structures:
- Implement support structures as needed. Large overhangs or complex geometries may require supports to prevent sagging or collapsing during the printing process.
- Print Orientation:
- Optimize the orientation of the object on the print bed. Experiment with different orientations to minimize the need for support structures and ensure that the object’s weight is distributed evenly during printing.
- Temperature Control:
- Maintain consistent temperature control within the 3D printer’s build chamber, especially when using materials sensitive to temperature variations. This helps prevent issues like warping or uneven cooling.
- Slicing Software:
- Use slicing software that allows for advanced settings and optimization for large prints. Adjust parameters such as infill density, layer height, and print speed to achieve the desired balance between strength and print time.
- Print Monitoring:
- Monitor the print closely, especially during the initial layers, to catch any issues early on. Large prints can take a significant amount of time, and detecting and addressing problems promptly is crucial for successful completion.
- Post-Processing:
- Plan for post-processing steps, such as sanding or additional support removal, to ensure the final object meets your quality standards.
Keep in mind that printing large objects may require some trial and error, and it’s advisable to start with smaller test prints before committing to a large-scale project. Additionally, be prepared for longer print times, as larger objects naturally take more time to complete.